


Add a Personal Touch to Your Holiday Decor
DIY Christmas Tree Ornaments: Add a Personal Touch to Your Holiday Decor
The holiday season is a time for creativity, warmth, and family gatherings. One of the best ways to capture the spirit of the season is by crafting your own Christmas tree ornaments. DIY ornaments not only add a unique touch to your holiday decor but also create lasting memories as you make them with your loved ones. Whether you’re looking for simple projects or intricate designs, here’s a guide to help you add a personal touch to your Christmas tree with DIY ornaments.
1. Gather Your Materials
Before you start crafting, it’s essential to gather all the materials you’ll need. Here’s a basic list to get you started:
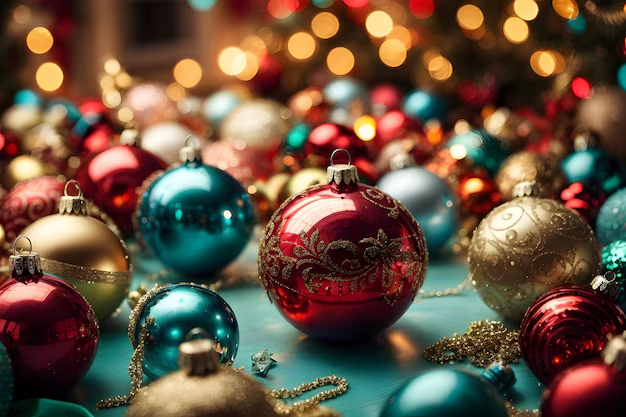
- Clear or colored glass or plastic baubles
- Paints and brushes
- Glitter and glue
- Ribbons, yarn, and twine
- Beads, sequins, and buttons
- Felt and fabric scraps
- Scissors and hot glue gun
- Craft paper and cardstock
- Natural elements like pinecones, twigs, and dried flowers
Having these materials on hand will allow you to create a variety of ornaments, each with its own unique charm.
2. Painted Baubles
One of the easiest ways to personalize your Christmas tree is by painting clear glass or plastic baubles. Here’s how:
- Remove the Cap: Carefully take off the cap of the bauble.
- Pour Paint Inside: Choose your favorite colors and pour a small amount of paint inside the bauble. Swirl it around to coat the inside evenly.
- Drain Excess Paint: Turn the bauble upside down over a paper towel to drain any excess paint.
- Let It Dry: Allow the paint to dry completely before replacing the cap.
- Decorate the Outside: Use markers, glitter glue, or stickers to add designs to the outside of the bauble.
These painted baubles can be customized with names, dates, or festive designs, making them perfect keepsakes.
3. Salt Dough Ornaments
Salt dough ornaments are a classic and fun project for families. Here’s a simple recipe and process:
- Ingredients: Mix together 2 cups of flour, 1 cup of salt, and 1 cup of water to form a dough.
- Roll Out the Dough: Roll the dough to about 1/4 inch thickness on a floured surface.
- Cut Shapes: Use cookie cutters to cut out shapes from the dough.
- Make Holes: Use a straw or skewer to make a small hole at the top of each ornament for hanging.
- Bake: Place the ornaments on a baking sheet and bake at 250°F (120°C) for 2-3 hours until hard.
- Paint and Decorate: Once cooled, paint and decorate the ornaments as desired.
- Seal: Apply a clear sealant to protect the paint and prevent moisture damage.
These ornaments can be customized with handprints, names, or festive designs and will look lovely on your tree.
4. Fabric and Felt Ornaments
Fabric and felt are versatile materials that can be used to create soft, colorful ornaments. Here are a few ideas:
- Felt Shapes: Cut out shapes like stars, hearts, or Christmas trees from felt sheets. Sew or glue two pieces together, leaving a small opening to stuff with cotton or batting before closing.
- Fabric Yo-Yos: Create small yo-yos from fabric circles by sewing a running stitch around the edge and pulling tight to gather. Stack and glue them together to form a ball or other shapes.
- Button Embellishments: Use buttons, beads, and embroidery to decorate your fabric or felt ornaments, adding texture and detail.
These handmade fabric ornaments add a cozy, homemade touch to your Christmas tree.
5. Nature-Inspired Ornaments
Incorporating natural elements into your ornaments can bring a touch of the outdoors to your holiday decor. Here are some ideas:
- Pinecone Ornaments: Collect pinecones and decorate them with glitter, paint, or tiny bows. Attach a ribbon loop for hanging.
- Twig Stars: Arrange small twigs in the shape of a star and secure them with hot glue. Wrap the joints with twine or ribbon for added stability and decoration.
- Dried Fruit Garlands: Thread dried orange or apple slices onto a piece of twine to create a garland. Add cinnamon sticks or star anise for a festive touch.
These natural ornaments add an organic, rustic feel to your Christmas tree and are a great way to celebrate the beauty of the season.
6. Photo Ornaments
Creating photo ornaments is a wonderful way to showcase cherished memories on your Christmas tree. Here’s how:
- Print Photos: Print small photos of family, friends, or pets.
- Cut and Frame: Cut out the photos and frame them with cardstock, craft paper, or pre-made frames.
- Decorate: Add embellishments like glitter, ribbons, or stickers to the frame.
- Attach a Loop: Glue or tape a loop of ribbon or twine to the back of the ornament for hanging.
These personalized photo ornaments add a sentimental touch to your tree and make great gifts for loved ones.
7. Upcycled Ornaments
Get creative and eco-friendly by upcycling materials you already have at home. Here are a few ideas:
- Bottle Cap Snowmen: Paint bottle caps white and glue them together in a vertical line. Add button eyes, a felt nose, and a ribbon scarf to create a snowman ornament.
- CD Ornaments: Cut old CDs into shapes like stars or snowflakes. Decorate with glitter, paint, or sequins for a sparkly effect.
- Jar Lid Frames: Use jar lids as frames for small photos or holiday scenes. Decorate the edges with ribbon or fabric and add a loop for hanging.
Upcycled ornaments are not only environmentally friendly but also offer a unique and creative touch to your holiday decor.
8. Paper Ornaments
Paper ornaments are easy to make and can be highly decorative. Here are some ideas:
- Paper Snowflakes: Fold and cut paper into intricate snowflake patterns. Hang them with fishing line or ribbon.
- Paper Quilling: Roll and shape strips of paper into designs like snowflakes, stars, or flowers. Glue them onto a cardstock base for a 3D effect.
- Origami Ornaments: Fold origami paper into shapes like cranes, stars, or Christmas trees. Add a loop for hanging.
These paper ornaments can be made with materials you likely already have at home and are perfect for a fun and budget-friendly craft project.